

As the busiest time for the hair and beauty industry approaches, you might have started running into the problem of receiving more appointment requests than your appointment book can fit!
While it’s certainly a nice problem to have, sometimes illness or other events outside of your clients’ control can mean they have to cancel, or postpone their appointments at the last minute.
That’s why having a waitlist is imperative for salons, spas and clinics that want to keep their appointment book full and ensure their waitlisted clients are at the first of the queue.
However, often keeping a waitlist is an admin-heavy task for your team – not ideal when you’re busy! Luckily with Kitomba’s Waitlist feature, you can quickly and easily add clients to your waitlist and drag and drop them into your appointment book when you have an empty spot to fill.
Say goodbye to pesky spreadsheets, hand written notes, and doubling up on writing details down, because with Kitomba Waitlist you’ll be able to easily manage your waitlisted clients and fill gaps in your appointment book, from anywhere, on any device.
Here’s how it works:
1. Create the client waitlist card
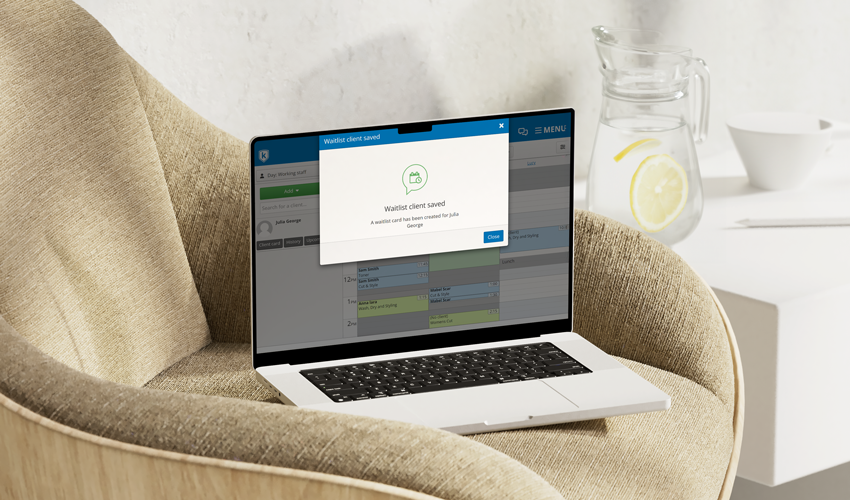
If you’re not currently able to book a client in, you can create a waitlist card with all their details and appointment requirements by clicking on the ‘Add’ button from the Kitomba 1 Appointment Book, and choosing ‘Waitlist client’.
Add client details
From here you can search for an existing client, which will pull up their contact details to easily add in, or you can choose to add a new client where you have the option to fill out all contact details as necessary.
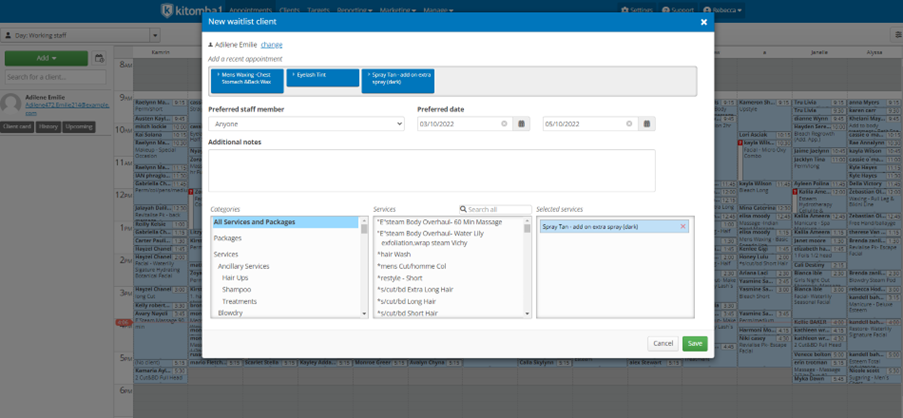
Add client preferences
After you have added your client’s details, you can then choose their preferred staff member, and available date range for the appointment. There is a ‘notes’ section of the card where you can add preferred times if applicable, and anything else relevant (could be that the client can only answer their phone after 3pm, or anything else relevant to the appointment).
This is also where you will select the service, or services that the client is wanting to book for – this Waitlist card will provide the basis for the appointment card so it’s important to get all these details in! Note that if you are adding an existing client, Kitomba Waitlist will show their most recent services, so you can easily choose the correct appointment type if they are wanting to rebook a service they’ve had previously.
2. View your waitlist
You can view your Kitomba Waitlist clients by clicking on the Waitlist icon, next to the ‘Add’ button on your Appointment book.
Your waitlisted clients will be automatically ordered by oldest to newest. However, you are able to add them into your appointment book in whichever order works best for you and your clients.
As well as being able to easily view all your waitlisted clients, you can also see their notes on the waitlist card by clicking ‘show notes’ – if no notes have been added then this will simply say ‘no notes’.
From here you can also edit appointment details; clicking the edit function will take you back to the original waitlist card. You can use this edit function if the client has changed their appointment type, dates, preferred staff member, or if for example you have tried to contact them regarding a cancellation, you could add it to the notes section.
The Waitlist view will automatically show you clients who have today’s date in their preferred range, however you are able to untick this box and see all clients on your Waitlist.
Another filter available on the view function is to view by requested staff member. This will filter your waitlist clients by the preferred staff member on their waitlist card.
3. Fill cancellations and gaps
If you have a gap in your appointment book or a spot opens up due to a cancellation, review your waitlist to see if there are any clients wanting an appointment.
If you find a suitable client on the waitlist, simply drag and drop their waitlist card onto the appointment book. Be sure to contact them first to ensure they can make the time and day you now have available!
If you’re on a smartphone or tablet, you’ll need to select “Add to calendar” then click your chosen space on the appointment book.
Are you ready to fill your appointment book with Kitomba Waitlist?
Filling and controlling your appointment book has never easier with Kitomba Waitlist. It takes the stress out of trying to fill last minute gaps in your salon schedule, and makes managing your waiting clients, staff time and overall salon management much easier (and more enjoyable).
To learn more about how to use Kitomba Waitlist, visit our Waitlist support guide, or if you’re not yet using Kitomba, contact us directly to sign up for a free demo and learn more.
Read next:
- How you can earn $4,000 a month with Kitomba Online Booking
- 5 key questions to ask when choosing salon or spa software
- How to create the ultimate client journey for your salon, spa or clinic with Kitomba
Editor’s note: This article was originally published on 03 October 2022 and has been updated for relevance and comprehensiveness.